
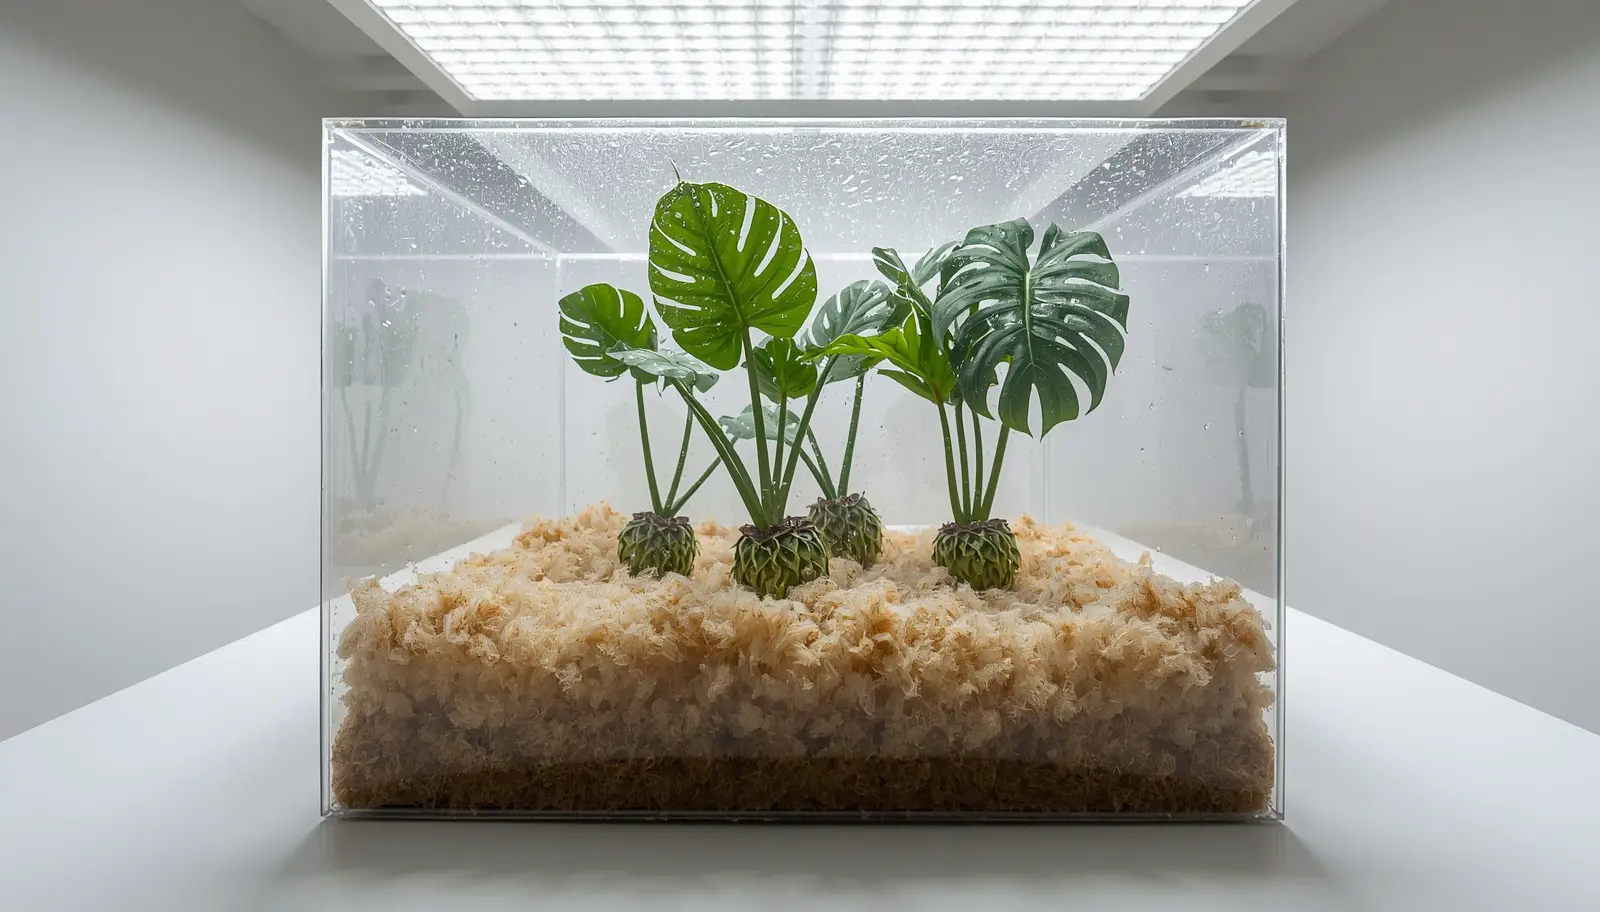
How to propagate in sphagnum moss: soak long-fiber sphagnum until it is evenly damp, squeeze out the excess so it is moist but not dripping, nestle the cutting’s node into it inside a clear container with some ventilation, and keep it warm (70 to 75°F, per Virginia Cooperative Extension) and out of direct sun. When the roots are well developed, move the cutting into an airy potting mix and keep humidity up for the first week or two. Wear gloves: the CDC lists sphagnum moss as a home of the fungus that causes sporotrichosis.
Sphagnum moss is popular for aroid and hoya cuttings, from a Philodendron Birkin node to a prized variegated monstera cutting, because it holds a lot of water while staying loose and airy. The rooting part is usually easy. The move into soil is where many cuttings struggle. This guide covers both steps, what the research on sphagnum actually shows, and the safety point most guides leave out.
Why Use Sphagnum Moss for Propagation?
Holds a lot of moisture
The IUCN UK Peatland Programme says different Sphagnum species can store 16 to 26 times their dry weight in water.
Stays loose
Long, fluffed fibers leave air spaces around the node, as long as you don’t pack the moss down.
Easy to check
In a clear container you can watch roots form without pulling the cutting out.
What the “antibacterial moss” claim really means
Sphagnum is often described as antibacterial. A 2009 study in the Journal of Applied Microbiology (Stalheim and colleagues) found that sphagnan, a compound from the moss, inhibited some food-spoilage bacteria by lowering pH, and only in its acid form and only against acid-sensitive species; at neutral pH it had no antibacterial activity. That is a narrow lab result, not proof that moss prevents rot in your propagation box. Clean technique and airflow still matter.
Sphagnum Moss vs Peat Moss
| Long-fiber sphagnum moss | Sphagnum peat moss | |
|---|---|---|
| What it is | Dried, intact moss strands | Partly decomposed moss dug from peat bogs |
| Texture | Long, springy fibers | Fine and crumbly |
| Main use | Rooting cuttings, air layering (“unmilled sphagnum moss” in the Virginia Tech guide), orchids | An ingredient in seed and potting mixes, often with perlite or vermiculite (Virginia Tech) |
The two are often confused, and many figures quoted for “sphagnum” (such as very low pH or porosity percentages) come from peat moss, which behaves differently. For propagation, buy bags labeled long-fiber sphagnum moss.
How to Propagate in Sphagnum Moss Step by Step
- Put on gloves. The CDC recommends gloves and long sleeves when touching plant matter such as sphagnum moss.
- Rehydrate the moss. Soak dry long-fiber moss in lukewarm water until the strands are evenly wet and expanded.
- Do the squeeze test. Squeeze a handful firmly. A few drops are fine; a stream of water means it is too wet. Fluff it back up afterward, since packed moss holds less air.
- Prepare the cutting. Use a clean, sharp blade and make sure the cutting has at least one node, the point on the stem where roots form. Virginia Tech suggests a rooting hormone, preferably one with a fungicide, to speed and even out rooting.
- Set the node in the moss. Nestle the node into the moss so it has good contact, without burying leaves.
- Cover loosely. Virginia Tech recommends a perforated or slitted clear plastic bag (or a clear container with a vented lid) to raise humidity and slow water loss.
- Keep it warm and bright. Aim for 70 to 75°F for both air and medium (Virginia Tech) in bright, indirect light. Keep covered cuttings out of direct sun, which builds heat under plastic.
- Check, air and re-moisten. Open the container now and then, and mist if the top of the moss dries out. Watch the roots through the sides.
Pro tip: For cuttings that rot easily, such as hoyas, some growers mix perlite into the moss to make it airier. Our hoya propagation guide compares moss with other rooting materials.
How to Transition a Plant From Moss to Soil
This step deserves more care than rooting. Virginia Tech notes that roots formed in water are different from roots formed in solid media and may suffer greater transplant shock. If you root in water and the stems go soft, see our guide to cuttings rotting in water. Moss isn’t water, but roots grown in constantly damp, loose moss can still struggle when moved straight into dense, wet potting mix. Make the change gradual:
Do
- Wait until there are several healthy roots, not just one new tip
- Soak the root ball briefly so moss fibers loosen
- Remove loose moss gently; leave strands that are woven into roots
- Pot into an airy, chunky mix, such as an aroid mix
- Keep humidity up (a loose bag or dome) for the first week or two
Avoid
- Tearing roots to get every fiber off
- Packing dense potting soil tightly around new roots
- Letting the pot sit wet and cold
- Fertilizing new roots right away; Virginia Tech advises keeping rooting media low in fertilizer
Keep the newly potted cutting in bright, indirect light and check the mix often for the first couple of weeks, watering when the top starts to dry. Once you see new growth, it has settled in.
Sphagnum Moss Root Rot and Other Problems
| What you see | Likely cause | What to do |
|---|---|---|
| Soft, dark stem at the node; sour smell | Moss too wet or packed, little airflow | Cut back to clean, firm tissue, start over with freshly squeezed, fluffed moss and more ventilation |
| Green film on the moss | Algae, a sign of light plus constant surface moisture | Reduce light reaching the moss (a paper sleeve helps) and let the surface dry slightly |
| Cutting wilts after potting, soil wet | Roots struggling in a dense or soggy mix | Check the roots; trim mushy ones and re-pot into an airier mix or back into moss |
| No roots after a long wait | No node, too cool, or a slow species | Confirm there’s a node; move somewhere warmer (70 to 75°F) |
For rotting roots on established plants, see our guides to Pythium root rot and treating root rot with hydrogen peroxide.
Air Layering With Sphagnum Moss
Sphagnum’s best-documented use is air layering, rooting a stem while it is still attached to the plant. Virginia Tech describes it for indoor plants with thick stems: make a slit just below a node, surround the wound with wet unmilled sphagnum moss, wrap it in plastic or foil and tie it in place, then cut the plant off below the new roots once they fill the moss. Our rubber plant guide walks through Iowa State’s version of the method.
Safety: Gloves, Pets and Reusing Moss
Wear gloves when handling sphagnum moss
The CDC says the fungus Sporothrix lives on soil and plants like sphagnum moss, rose bushes and hay, and infects people through cuts or scrapes. Its advice: wear gloves, pants and long sleeves when touching plant matter. CDC investigations have linked outbreaks of the skin infection to workers handling sphagnum moss.
Pets
The ASPCA’s plant list doesn’t include sphagnum moss. Keep propagation boxes out of reach anyway, since cuttings of aroids such as monstera and philodendron are themselves toxic to cats and dogs. See our cat-safe plants guide.
Reusing moss
Fresh moss for each batch is the safest choice. Virginia Tech notes commercial rooting media are generally free of pests and disease, which reused moss from a rotted cutting is not.
Is Sphagnum Moss Sustainable?
Sphagnum is a peat-forming moss, so harvesting it raises fair questions. The IUCN UK Peatland Programme notes that commercially grown Sphagnum is now used to restore damaged peatlands and as an alternative to peat in compost. A 2025 study in Environmental Management (Allonen and colleagues) describes Sphagnum as a potentially renewable alternative to peat, notes that harvesting in Finland is still small-scale, and concludes that more regulation would be needed if it scales up.
For a home propagator using a small bag, the practical steps are to buy only what you need, use it fully, and choose cultivated or responsibly sourced moss where it’s labeled. For more propagation and growing guides, browse The Lab.
Frequently Asked Questions
How do you rehydrate sphagnum moss?
Soak the dry long-fiber moss in lukewarm water until it is evenly wet, then squeeze out the excess. It should feel damp with only a few drops when squeezed, not dripping. Fluff it back up before use.
Do I have to remove all sphagnum moss before potting in soil?
No. Remove loose moss gently, but leave strands that are woven into the roots rather than tearing them. Virginia Tech notes roots formed in very wet conditions can suffer more transplant shock, so avoid damaging them.
How do you transition a plant from moss to soil?
Wait for several healthy roots, soak the root ball briefly, remove loose moss, and pot into an airy, chunky mix without packing it. Keep humidity up for the first week or two and water when the top of the mix starts to dry.
Why is my cutting rotting in sphagnum moss?
Usually because the moss is too wet, packed tightly, or the container has no airflow. Cut back to firm tissue, re-set the node in freshly squeezed, fluffed moss, and ventilate the container more often.
Do you need gloves to handle sphagnum moss?
It’s recommended. The CDC says the fungus that causes sporotrichosis lives on plants like sphagnum moss and enters through cuts or scrapes, and advises gloves and long sleeves when touching plant matter.
What temperature is best for rooting cuttings?
Virginia Cooperative Extension suggests keeping both the air and the rooting medium warm, around 70 to 75°F, with the cuttings in bright, indirect light rather than direct sun.
Sources
- Virginia Cooperative Extension 426-002: Propagation by Cuttings, Layering and Division (Relf and Ball, reviewed 2025)
- CDC: Sporotrichosis Basics (2024)
- CDC MMWR (1988): Multistate outbreak of sporotrichosis in seedling handlers
- IUCN UK Peatland Programme: Species showcase, Sphagnum
- Stalheim et al. (2009), Sphagnan inhibits bacterial growth by lowering pH, Journal of Applied Microbiology
- Allonen et al. (2025), Sphagnum moss harvesting in Finland, Environmental Management